
As fall approaches the guys start gearing up for hunting season, hoping to stock up meat for the winter. My husband has a battery operated deer feeder which works off and on so he wanted something more reliable that he could make himself and didn't have a lot of bells and whistles. He designed this model based on a similar plan on the internet, modifying it to break it down for post season storage. If all goes well, everything will come apart and fold up into the tube.
Materials gathered, he and our neighbor, Rick, began making the feeders.
Materials needed
six inch pvc pipe- 10 foot length
two 8 foot 2X4 treated boards cut to 30 inch lengths
An 8 foot section of 1X8 white wood
Caps for the PVC pipe
2 5/8 dowels
2 carriage bolts
nuts and washers
orange marking paint
assorted spray paints (cammo)
screws
chop saw
router
drill (3/4 bit)
hole saw- one inch bit
A friend to help

He purchased a 10 ft long, six inch pvc pipe to make two feeders and have enough left over to make a third later.

He cut them to size - about 36 inches long.

Using an extra piece of pvc as a template, he cut out two discs. One will be used as a base and one for the plunger.

They then routed out the boards about halfway through using a 3/4 inch straight cutter bit. The mortise is 3 5/8 inches wide.

It should look like this on each board.

Interlock the boards.

Locate the center and drill a hole to accommodate the carriage bolt.

Drill a hole in ONE of the discs, the one for the base.
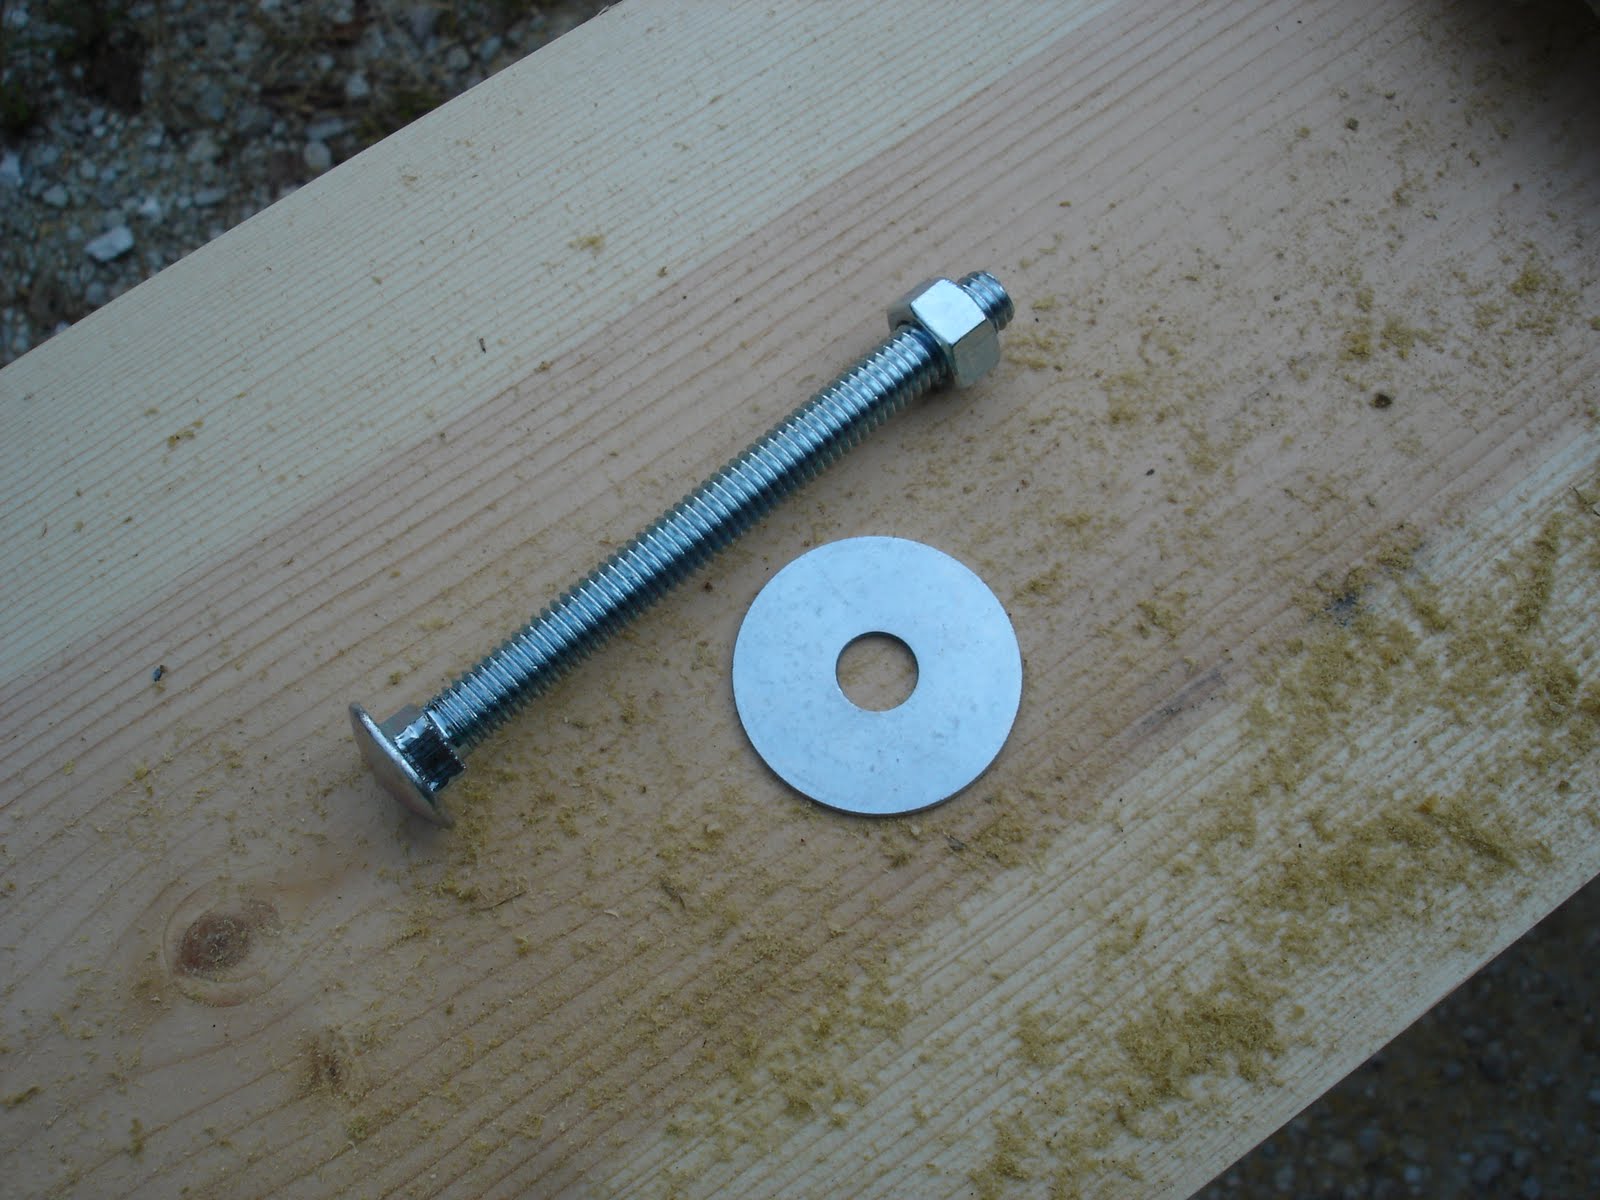
This is a close up of the bolt.

Position the carriage bolt under the base and through the disc on top of the base.

Pre drill holes in four sides of the tube.
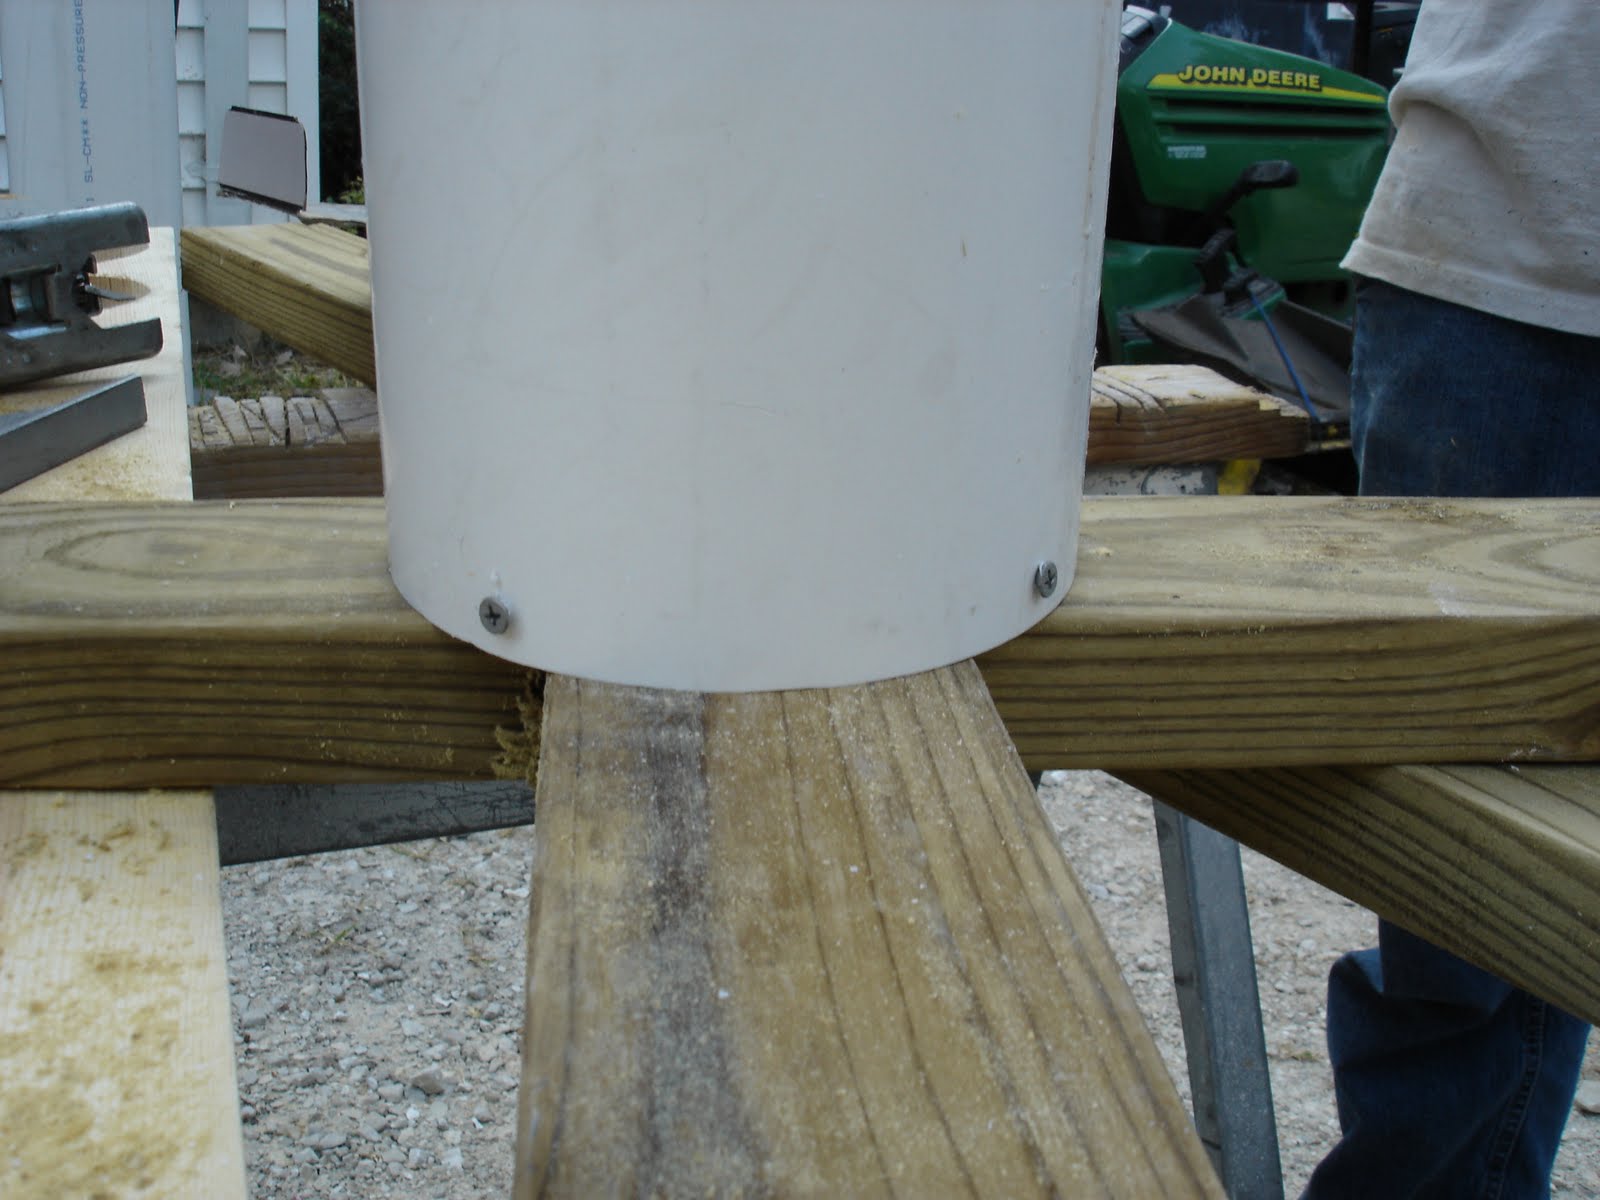
Position the tube on top of the base and position screws through the pipe and into the disc.

Drill holes in opposite sides of the tube. This will let the feed fall through. Our holes were a little big- based on the internet directions. A better size is about an inch.

It should look like this (with smaller holes, our was too big at 2 inches)

Drill a hole through the top of the cap to accommodate the dowel. The dowel should be able to slide up and down.

Hire small children to sand the tube in preparation for the paint.

They are not very fast but they work cheap.

Using paint that blends into your surroundings, spray the tube top to bottom.

Attach the dowel to the second disc. This will be slipped into the tube on top of the feed you load, such as corn. Paint the tip a bright orange color so you will be able to tell when the feed is low. The disc will start sliding down the tube as the deer feed. When the orange tip reaches the top of the cap, it's time to refill.
Position the feeder in an appropriate place. You may want to support it with rocks. This will stabilize it plus disguise the base.

Sneak down and watch it attract the wildlife!
5 comments:
too cool... my hubby also made a homemade deer feeder with a PVC pipe and painted it camo. Hmmm... good blog post inspiration! Do you hunt too? we are sooooo ready!
Thanks. I don't hunt but I do fish. I do want to learn how to dress out the deer, just in case I have to some day. My granddaughter (6) wants to start hunting- anything for meat! LOL
Great tutorial! Love the small children! :)
what keeps the corn from coning out the bottom?? i make thim with a 5 gallon bucket and pvc pipe thats the easiest way iv pound
nothing really, it's supposed to come out and dribble on the ground like one of those automatic cat feeders so as the deer feed more is released; however, this came out a little too fast. Maybe we need to modify it adding some bars across the bottom.
Post a Comment